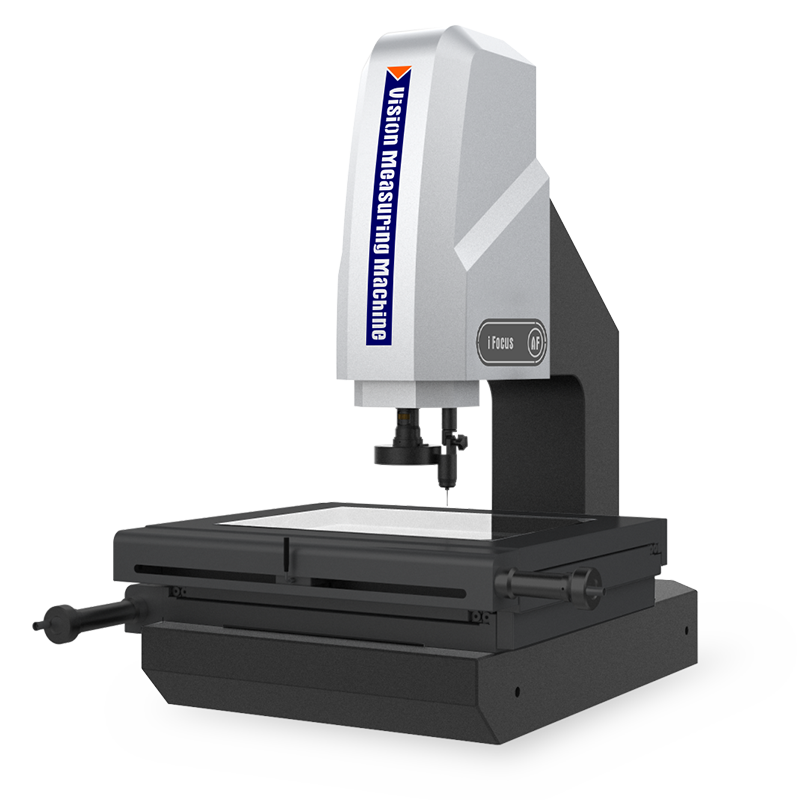
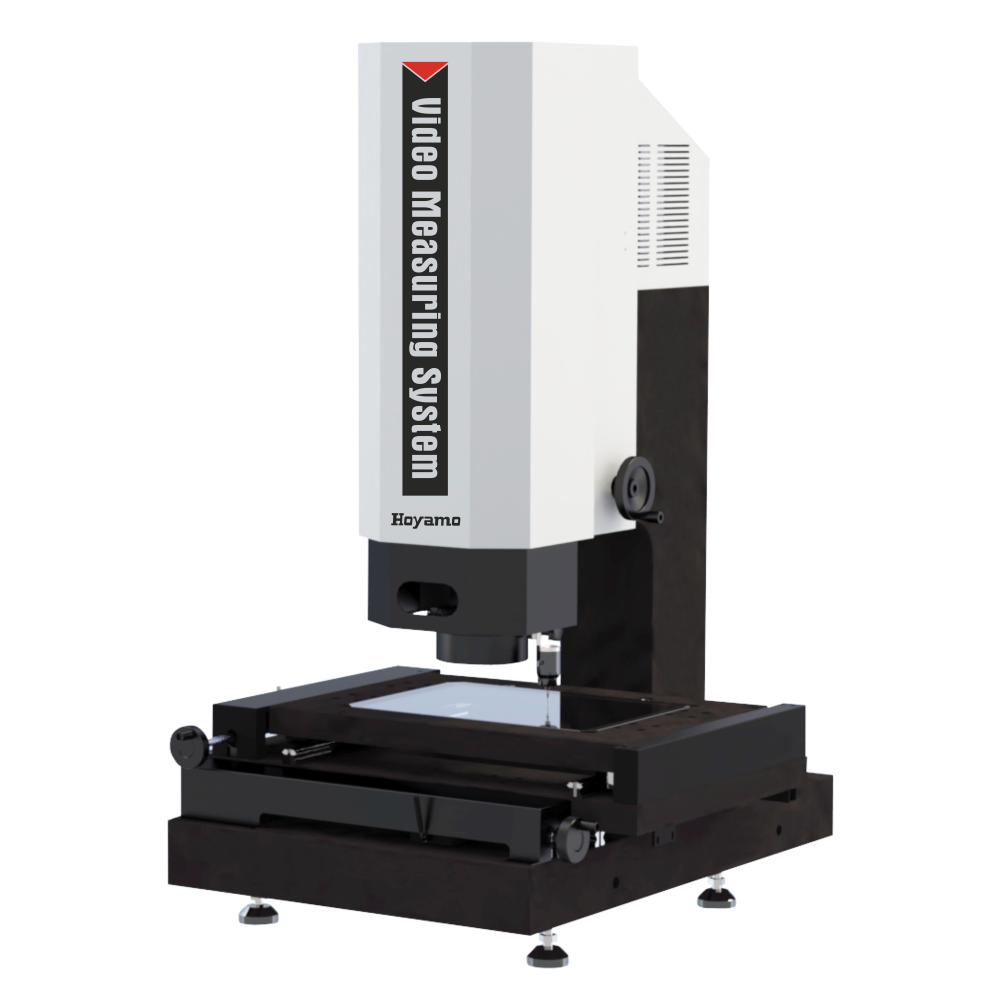
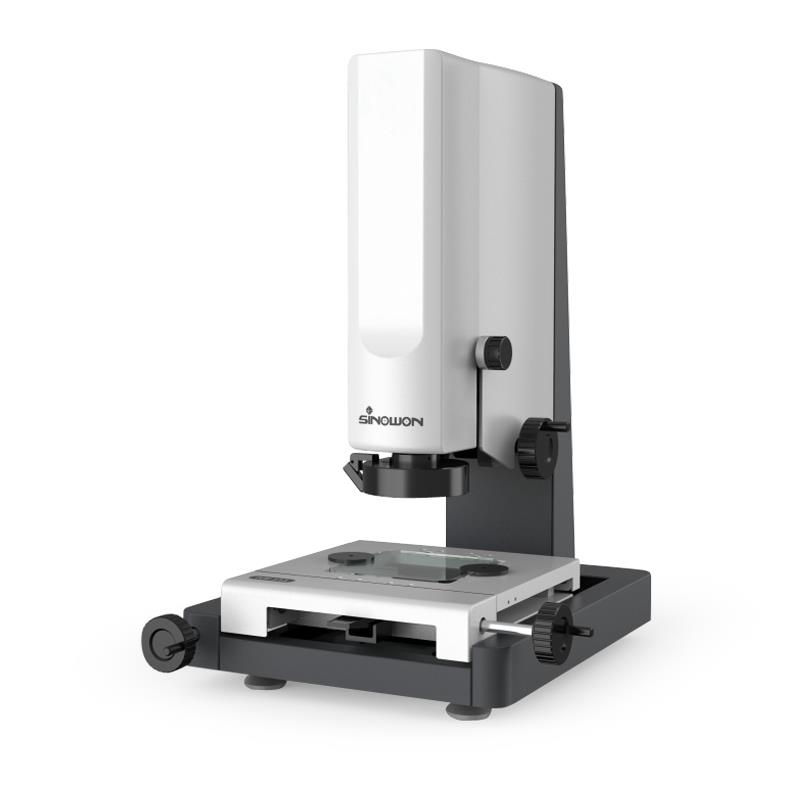
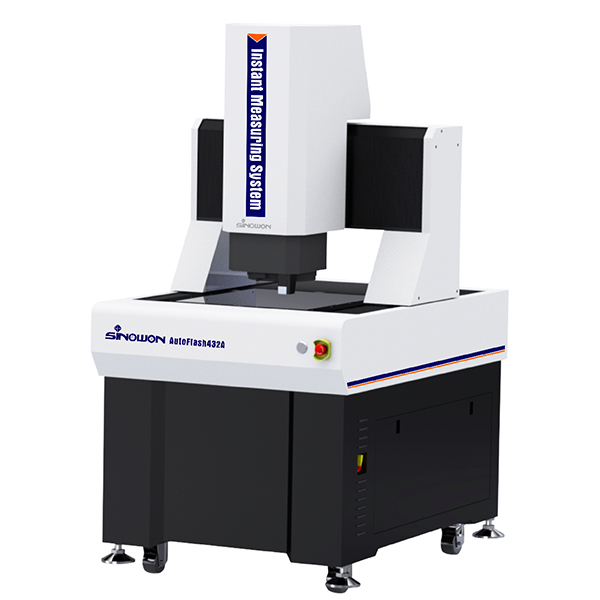
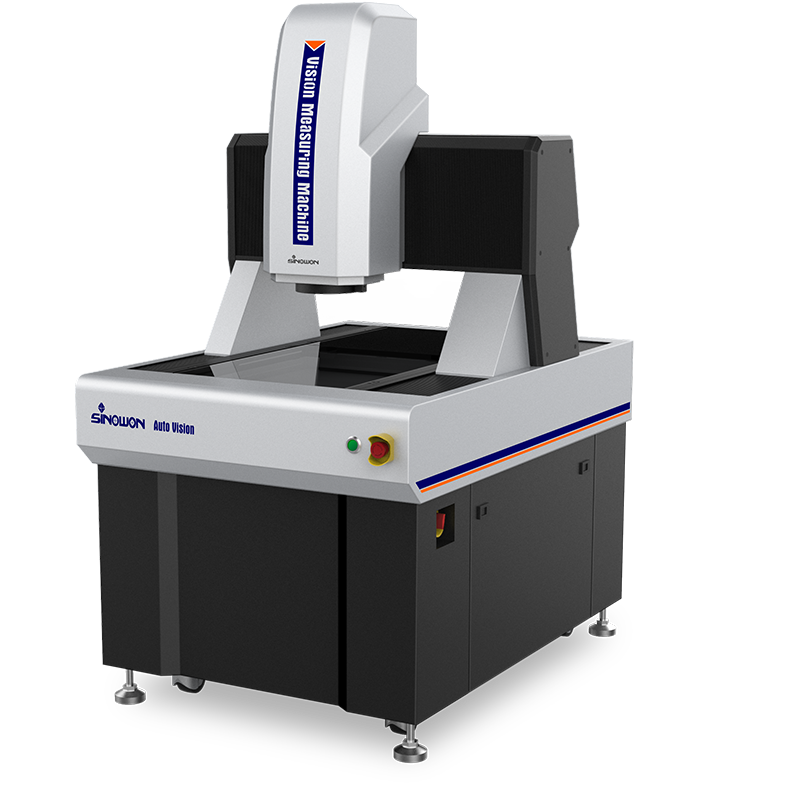
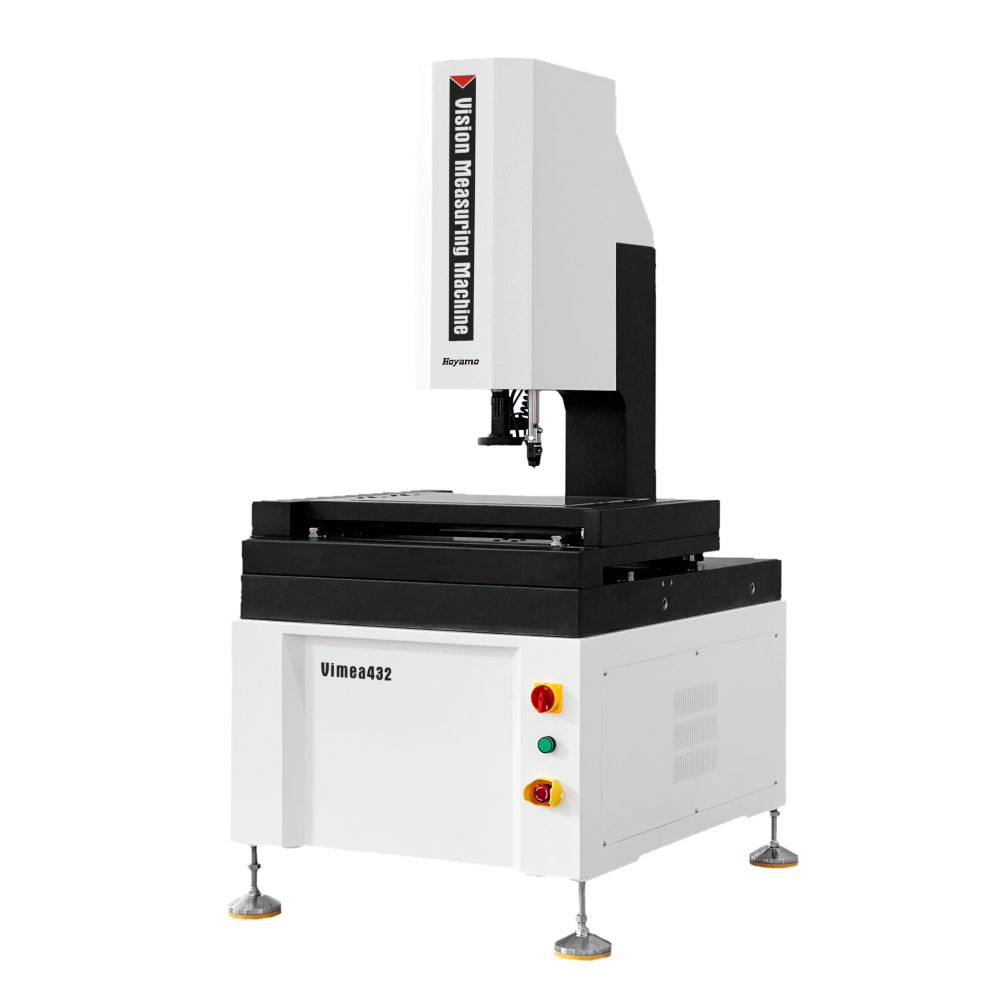
| High-Precision Manual Vision Measuring Machine IMS-5040 Series | ||||
| Commodity | 2.5D Vision Measuring Machine | 3D Contact & Vision Measuring Machine | 2.5D Semiautomatic Vision Measuring Machine | 3D Semiautomatic Contact & Vision Measuring Machine |
| Product Type | A: Optical Zoom-lens Sensor | B: Zoom-lens Sensor and Contact Probe Sensor | C: Zoom-lens Sensor and Z-axis Autofocus Function | D: Zoom-lens Sensor, Contact Probe Sensor and Autofocus Function |
| Model | iMS-5040A | iMS-5040B | iMS-5040C | iMS-5040D |
| Code# | 521-120J | 521-220J | 521-320J | 521-420J |
| Measuring Software | iMeasuring | |||
| Marble Workbench | 708x470mm | |||
| Glass Workbench | 556x348mm | |||
| X/Y axis travel | 500x400mm | |||
| Z-axis travel | High-precision linear guide, effective travel 200mm | |||
| X/Y/Z axis resolution | 0.5um | |||
| Measurement Accuracy | XY axis: ≤2.0+L/200(um) | |||
| Z axis: ≤5.0+L/200(um) | ||||
| Repeat Accuracy | 2um | |||
| Pedestal and Uprights | High Precision Granite | |||
| Illumination System(Software Adjustment) | Surface 4 rings and 8 zones infinitely adjustable LED cold Illumination | |||
| Contour LED Parallel Illumination | ||||
| Optional Coaxial Light | ||||
| Digital Camera | 1/2.9"/1.6Mpixel High Resolution Digital Camera | |||
| Zoom lens | 8.3X High-Resolution Electronic feedback zoom lens | |||
| Optical Magnification: 0.6X~5X times; Video Magnification: 20X~170X | ||||
| Operation System | Support WIN 10/11-32/64 Operating System | |||
| Language | English, Simplified Chinese, Traditional Chinese, Optional other language versions | |||
| Dimension (WxDxH) | 1002x852x1085mm | |||
| Gross/Net Weight | 550/380Kg | |||
 ● L represents the measurement length, in millimeters, the mechanical accuracy of the Z axis, and the focusing accuracy have a great relationship with the surface of the workpiece. ● ** Magnification is approximate and depends on monitor size and resolution. ● Customers can choose additional mirrors 0.5X or 2X according to their needs to achieve image magnification: 13X~86X or 52X~344X. ● Working environment: temperature 20℃±2℃, temperature change<1℃/Hr; humidity 30%~80%RH; vibration<0.02g's, ≤15Hz.Standard Delivery:
 | Commodity | Code# | Community | Code# |
| Measurement Software | 581-451 | Electronic Feedback Lens | 911-133EF |
| Manual controller | 564-301 | 4R/8D LED Illumination | 425-121 |
| 0.5um Enclosed Grating Ruler | 581-221 | Dust Cover | 521-911 |
| Dongle | 581-451 | 1/2.9" Digital Camera | 484-131 |
| Optical Calibration Plate | 581-801 | Data cable | 581-931 |
| Certificate, Warranty Card, Instruction, Packing List | ------ | Contour LED Parallel Cold Illumination | 425-131 |
| Commodity | Code# | Commodity | Code# |
| Instrument Table | 581-621 | Electronic Feedback Coaxial Optical Lens | 911-133EFC |
| 3D Touch Probe | 581-721 | Calibration Ball | 581-821 |
| Computer and Monitor | 581-971 | 1/1.8” Color Camera | 484-123 |
| Block Gauge | 581-811 | 0.5X Additional Objective | 423-050 |
| Foot Switch | 581-351 | 2X Additional Objective | 423-200 |
 Product Measurement Space:
 | Model | Effective Measurement Travel mm | Dimensions (L*W*H) mm | ||||
| X-axis | Y-axis | Z-axis | Machine dimensions | Package dimensions | Installation dimensions | |
| IMS-2010 | 200mm | 100mm | 200mm | (677*552*998)mm | (1030*780*1260)mm | (850*1400*1720)mm |
| IMS-2515 | 250mm | 150mm | 200mm | (790*617*1000)mm | (1030*780*1260)mm | (850*1400*1720)mm |
| IMS-3020 | 300mm | 200mm | 200mm | (838*667*1000)mm | (1030*780*1260)mm | (850*1400*1720)mm |
| IMS-4030 | 400mm | 300mm | 200mm | (1002*817*1043)mm | (1130*1000*1270)mm | (1010*1460*1810)mm |
| IMS-5040 | 500mm | 400mm | 200mm | (1002*852*1085)mm | (1280*1070*1470)mm | (1110*1500*1850)mm |
| Sensor Configuration | 2.5D | 3D | Semiauto 2.5D | Semiauto 3D |
| Model | iMS-5040A | iMS-5040B | iMS-5040C | iMS-5040D |
| Suffix | A | B | C | D |
| Suffix Meaning | A: Optical Zoom-lens Sensor | B: Zoom-lens Sensor and Contact Probe Sensor | C: Zoom-lens Sensor and Z-axis Autofocus Function | D: Zoom-lens Sensor, Contact Probe Sensor and Autofocus Function |
| Measuring Function | Point • | Point • | Point • | Point • |
| Line — | Line — | Line — | Line — | |
| Circle ○ | Circle ○ | Circle ○ | Circle ○ | |
| Arc ⌒ | Arc ⌒ | Arc ⌒ | Arc ⌒ | |
| Ellipse | Ellipse | Ellipse | Ellipse | |
| Rectangle | Rectangle | Rectangle | Rectangle | |
| Circular Groove | Circular Groove | Circular Groove | Circular Groove | |
| Ring | Ring | Ring | Ring | |
| Closed Curve | Closed Curve | Closed Curve | Closed Curve | |
| Open Curve | Open Curve | Open Curve | Open Curve | |
| High Magnification Height Measurement | Height | High Magnification Height Measurement | Height | |
| ------ | Depth | ------ | Depth | |
| ------ | Regular 3D Dimensions | ------ | Regular 3D Dimensions | |
| Fit Measurement Function | Distance | Distance | Distance | Distance |
| Angle ∠ | Angle ∠ | Angle ∠ | Angle ∠ | |
| Diameter φ | Diameter φ | Diameter φ | Diameter φ | |
| Radius ® | Radius ® | Radius ® | Radius ® | |
| Roundness ○ | Roundness ○ | Roundness ○ | Roundness ○ | |
| Straightness | Straightness | Straightness | Straightness | |
| Parallelism | Parallelism | Parallelism | Parallelism | |
| ------ | Perpendicularity | ------ | Perpendicularity | |
| Concentricity | Concentricity | Concentricity | Concentricity | |
| Angularity | Angularity | Angularity | Angularity | |
| Symmetry | Symmetry | Symmetry | Symmetry | |
| Flatness | Flatness | Flatness | Flatness | |
| 2D Position | 2D Position | 2D Position | 2D Position |

 Nice products, high-quality, excellent ROI if you work with us. Since our establishment in 2006, our original intention has not changed. We take each year as a step and continuously improve our product quality and research and development capabilities. Currently, the accuracy of our 2D optical measuring machine SinoVision series can reach 1.2+L/200 microns. Creating value for society, creating opportunities for employees, and creating wealth for society are the unwavering pursuits of Hoyamo & Sinowon.
